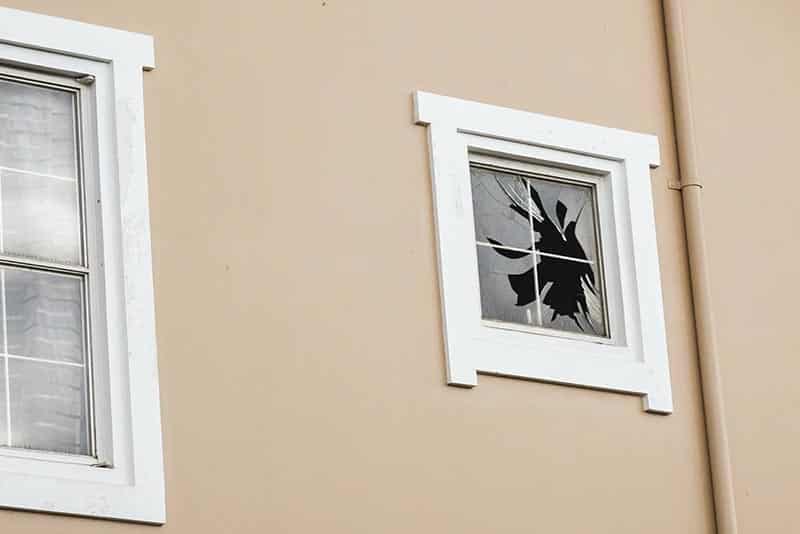
Utah dwellers know something about heavy winds, especially those north of Salt Lake. Strong western Wyoming winds tend to funnel straight through Davis County, and wind speeds have reached 120 mph. That’s about the force of a Cat 3 hurricane, in case you’re wondering. Leaving your windows – and thus your home – exposed during these storms can spell disaster.
While many people choose to invest in specialized hurricane shutters, these are not always an affordable option. However, just because shutters may not be viable doesn’t mean you have to leave your windows and belongings up to chance. You can board up your windows using only a handful of tools and parts available at your local hardware store.
Our Davis County disaster cleanup specialists put together a handy guide for doing it yourself:
Why board up your windows?
Heavy storm damage to your home will vary based on several factors, and you can only control so many. People commonly think the worst storm effects equal broken glass and interior water damage from shattered windows – good guesses, but only partially correct.
Broken glass scatters everywhere, and it can gravely injure the people in your home, especially your pets. If water pours in from a busted window unchecked, it likely will warp floors and walls, weaken them to mold infestations, and may damage your home’s electrical wiring.
However, one of the most significant problems from a broken window during a storm is the change in air pressure. While this may not seem like much of an issue, it becomes significantly more worrisome when considering high wind speeds during a heavy storm. Wind and pressure can build up within your home enough to tear off the roof and possibly collapse the whole structure.
Boarding up your windows certainly sounds much more important now, doesn’t it?
What you will need
Everything you need to board up your windows effectively can be bought at your local hardware store. If you live in an area with strong windstorms, it is best to buy your own tools. It may also pay to keep a ready supply of prepared boards and bolts stored to use them should you need extra tools in the future.
- A sturdy ladder
- Measuring tape
- A circular saw
- A drill with a selection of bits
- Long nails
- Screws or bolts
- Window anchors or clips
- Wooden boards or planks (recommended thickness of 5/8 of an inch)
- A black marker
It’s not much, so you can quickly get it all in a single trip, and it always pays to buy more than you will need. You never know when something may go wrong, and you’ll need to replace broken parts in a hurry.
How to board up your windows
1. Cut the boards
Start by measuring everything. As the adage says, “Measure twice, cut once.” This will apply to every board and window, as precise measurements can differ between total safety and total disaster.
Identify every window on your home – from standard windows, glass sliding doors, and extensions – to know everything you need to barricade. Measure the width from inside the exterior trim. For the height, measure from the sill to the bottom of the top trim. Remember to be as exact as possible so that you don’t fall short.
Then, using these measurements, add an extra eight inches to each figure. This will give you an overlap of four inches on each side to help secure your boards and prevent the windows from blowing in. Cut your boards using the circular saw, and you’ll have your ideal barricades.
2. Prepare the frames
Using a drill bit the same diameter as your bolts, drill one hole in each corner, spaced two inches from each edge. Then, at 12-inch intervals, drill more holes along each edge. You’ll use these to secure the boards in place. With help, hold the boards against the window frame, and use the holes you drilled to mark where you need to drill into your wall.
If your windows have an extended sill, you must ensure the board sits flush on it and secure the other three sides. If there’s no sill, you can secure each of the four sides. Also, remember to use the marker to write which of your windows each board belongs to. Since they may not all be the same, you will need to be able to identify the correct ones in a hurry.
Drill each of the marked holes and use plastic anchors or clips to plug each hole so that you can securely screw the bolt into it. Two-and-a-half-inch lag screws are sufficient for holding boards in place for wooden frames. For masonry frames, use quarter-inch expansion bolts due to the more substantial nature of the stone.
3. Install the boards
Once you have all the windows marked and drilled, they’re ready. Store all your boards with their corresponding bolts, screws, and tools safely and securely.
You will only have a short while to get everything secured in place once forecasters announce a coming storm. Practice with one or two of the boards to get a feel for how tightly and quickly you can install them. Keep spares of all your tools with them in case accidents occur, and if you should go long periods without storms, then routinely check your boards for signs of rot or wear. So long as you keep on top of them, they will always be there for you when you need them most.
Heavy winds and rain can terrify even the most veteran homeowner. Preparation goes a long way to calm those fears. Remember: Storm-damaged windows are much more dangerous than you might expect, so don’t leave your safety up to chance. And if Mother Nature still wins out, you’re always just a phone call away from an experienced Utah disaster cleanup crew.

